
Guide · 17 min read
Aftercare and Home Care
The short answer
Start with the actual texture service, then choose the finish you want. My Semi and Demi normally allow same-day washing; Permanent, Cold and Hot normally require 48 hours without washing. Another salon’s system needs its own instructions.
Want this done properly?
Keratin treatment in London (Straightment Demi)
Matched to your hair, no line, roots after 4–8 months. £199.95–£449.95, by length.
Keratin treatment in London →You have had your hair done. Now I want you to know what to do with it at home. Start with the treatment below, then go to the way you want to wear it.
Imagine buying a handbag and carrying it everywhere for five or seven years, 24 hours a day. Into the shower, onto the beach, into bed. Wash it, rub it, put heat on it. What would it look like? Some of the hair you carry has been with you for years too. You wash it, dry it, sleep on it and take it everywhere. Give it a little care along the way.
Choose shampoo for your scalp and conditioner for your lengths. Oily roots and dry ends can be on the same head. I usually include a leave-in, then adjust the amount and styling. I tend to spend above about £15 on everyday shampoo and conditioner. That is my shopping preference, not proof that cheaper cannot work. If you want to understand the ingredients and the claims, read hair myths, hair oils and silicones and sulphates.
First, the treatment. Then, the finish you want. My Semi and Demi let you wash the same day. Permanent, Cold and Hot usually need 48 hours without washing. If another salon treated you, keep its own aftercare first.
Find your chapter
Your treatment · Home care · Shampoo · Mask first · Curls and waves · Straighter hair · Sleep · Hats and helmets · Holiday · Questions
Wear hair extensions? Look after the attachment and the lengths separately. Start with my extension aftercare. I offer work on hair with extensions only to my Loyal Clients.
Want me to pick the lessons for your answers? Find my routine. Or stay here and read the part you need.
Chapter 1. Which treatment did you have?
Straightment is my name for my smoothing and straightening work. You may know the treatment as keratin, a Brazilian blow-dry or Japanese straightening. Those names are not all the same treatment. Here is the useful difference: Straightment SEMI is lighter smoothing and frizz control; Straightment DEMI is my keratin/Brazilian-type smoothing service; Straightment PERMANENT is permanent straightening. Wavement is my perm work: COLD is the traditional cold-perm family and HOT is the hot/digital family. Semi and Demi here are texture services, not hair colour. Use the full name on your aftercare message. The treatment map helps if you are unsure.
Straightment Semi — light smoothing and frizz control
- You can wash the same day. I normally wash it in the salon already. You do not need to wash it again just because you can.
- Colour needs a conversation. It may be before, after or on the same day. After a Semi, vegetable and semi-permanent colour can be done the same day, demi-permanent and permanent colour wait 3 days, and bleach waits a week. I need to check the combination. I prefer not to stack processes without a reason. Vegetable or gentle on a colour box is not permission on its own.
- Live normally. No special sleep or gym rules for my usual Semi. Swimming is fine unless I told you otherwise for your hair. Rinse afterwards and use the holiday lesson.
- After rain, put back the finish you want. Keep the waves if you like them. For a straighter finish, use the drying I showed you. Never iron wet hair.
Straightment Demi — keratin/Brazilian-type smoothing
- You can wash whenever you like, even today. There is no wait for my usual Demi. Another salon’s treatment may be different.
- Colour is best after your Demi, not before. Vegetable and semi-permanent colour can be done the same day. Demi-permanent and permanent colour wait 3 days, and bleach waits a week. Some colourists work differently, so ask me first if your plan is different.
- Sleep and gym: carry on as normal. Swimming is fine unless I gave you different advice. Rinse with fresh water afterwards and use the holiday lesson.
- Choose how you wear it. Straightment does not mean you have to wear it poker straight. Keep the movement you want and use the matching lesson below.
I think of strong treatments stacked on the same hair a bit like asking the same patch of skin to go through another procedure. Give it some thought first. It is an analogy about restraint; hair does not heal like skin.
Straightment Permanent — permanent straightening
For the first 48 hours after the treatment finishes:
- Keep it unwashed. The washing and swimming lessons further down are for later.
- No tight ties, clips or tucking behind your ears. A very loose tie is an option only if I showed you where and how. Do not invent a wrap or braid.
- No hard sweaty workouts, beach or pool for those two days. Normal movement is fine. If you want my three-day gym excuse, that is a joke, not an extra treatment rule.
- Keep it free of pressure at night. Lay long lengths above the pillow, clear of your shoulder. Silk or satin is fine if it does not grip, pull or crease the hair.
- If rain catches you, dry gently as I showed you. Never iron damp hair. Send pictures if it still looks wrong, rather than keep passing the iron over it.
Colour: wait at least two weeks, then ask me. The two weeks do not automatically make highlights or bleach suitable. Lightening now can also limit which texture treatments I can offer later.
Wavement Cold — cold/traditional perm
- No washing for 48 hours. Count from when the treatment finished, not when the appointment began.
- No tight ties or pressure on the new shape. Keep to any particular arrangement I showed you. No tight clips or tucking behind the ears.
- No sweaty gym, beach or pool for the first two days. At night, lay the lengths clear so you are not pulling or lying on them.
- Wait at least two weeks for colour, then have it checked. Bleach and highlights need particular care.
- When you can wash, use the curly/wavy lesson and the finish we practised. Brushing out a dry curl and then looking for its definition is making work for yourself.
Wavement Hot — hot/digital perm
For Hot, keep the same first-two-day care: no washing for 48 hours, no tight ties or pressure, no hard sweaty gym, beach or pool. Wait at least two weeks for colour and have it checked.
Use the finish I showed you. Hot is not an instruction to add heat at home or copy a finger-twisting video for everyone. If we practised a next-morning water-and-product refresh for your hair, use that exact method. Otherwise, do not wet a fresh treatment because a general refresh lesson says you can.
Keratin, Japanese straightening, rebonding, relaxer or perm elsewhere
Ask the salon for the product name, finish time and written aftercare. Keratin can mean different things. My Semi and Demi wash advice does not tell us when another salon’s Brazilian treatment can be washed. My Permanent does not identify which relaxer you had.
If you used a home straightening kit, keep the packaging and tell me. If you do not know the name or timing, handle gently and check before washing, dampening, tying, swimming or using heat. Get medical advice for a painful, burned, blistered or inflamed scalp.
Chapter 2. The wash-day lessons
01. Wash when your scalp needs it
Already have a routine that keeps your scalp comfortable and your hair clean? Keep it. You do not need a new timetable just because you read a guide.
I have clients who wash about once a month. I have American clients who wash daily because that fits their lives. Different people, different scalps. Neither is a timetable I am handing to everyone.
“You have a life to live, not a hairdresser to tell you what to do with your life. Well, I do, but hey.” Look at oil, sweat, flakes, discomfort and product left behind. Curl shape alone cannot decide. If a long gap leaves you itchy or coated, wash sooner. If you wash often, do it gently. More on frequency.
02. A water rinse is an option between shampoos
If you wet your hair three, four, five or seven times a week, you do not have to reach for shampoo every time. Once your treatment allows wetting, try a fresh-water rinse when the scalp still feels clean and you just want to rinse away sweat salts or loose dirt.
Shampoo day or rinse day? Shampoo removes excess oil and stubborn product. Water does a lighter job. If the roots still feel oily, coated or dirty after rinsing, use shampoo. If the lengths need conditioner after a rinse, condition those lengths. You have a life to live; not every shower needs the whole routine. If your water changes, keep familiar products while you see what else changed. London hard water explains mineral removal. Humidity care helps with the finish in damp weather.
Less shampoo, more fun. If your scalp is comfortable, keep shampoo for when you need it. You do not have to wash and start the style again out of habit. Fewer full restyles save time and product, with less drying, heat and handling.
Water temperature: comfortably warm
Warm enough to feel comfortable on your scalp. Not hot enough to sting. That is what I want for washing and rinsing. You do not need an ice-cold finale to “seal” the hair. If you enjoy a cooler finish, fine. It is optional.
Dermatology washing advice recommends warm water. It does not give every head one best temperature in degrees. I would rather you rinse properly than rush because the water feels unpleasant.
03. My shampoo lesson: mix, distribute, massage
Go gently while it’s wet. Hair is especially fragile when it is wet. Squeeze or blot, do not rub, and never pull through a knot.
- Wet right through to the scalp with comfortably warm water. Lift the top hair so water reaches underneath and at the nape. No scalding water or icy punishment.
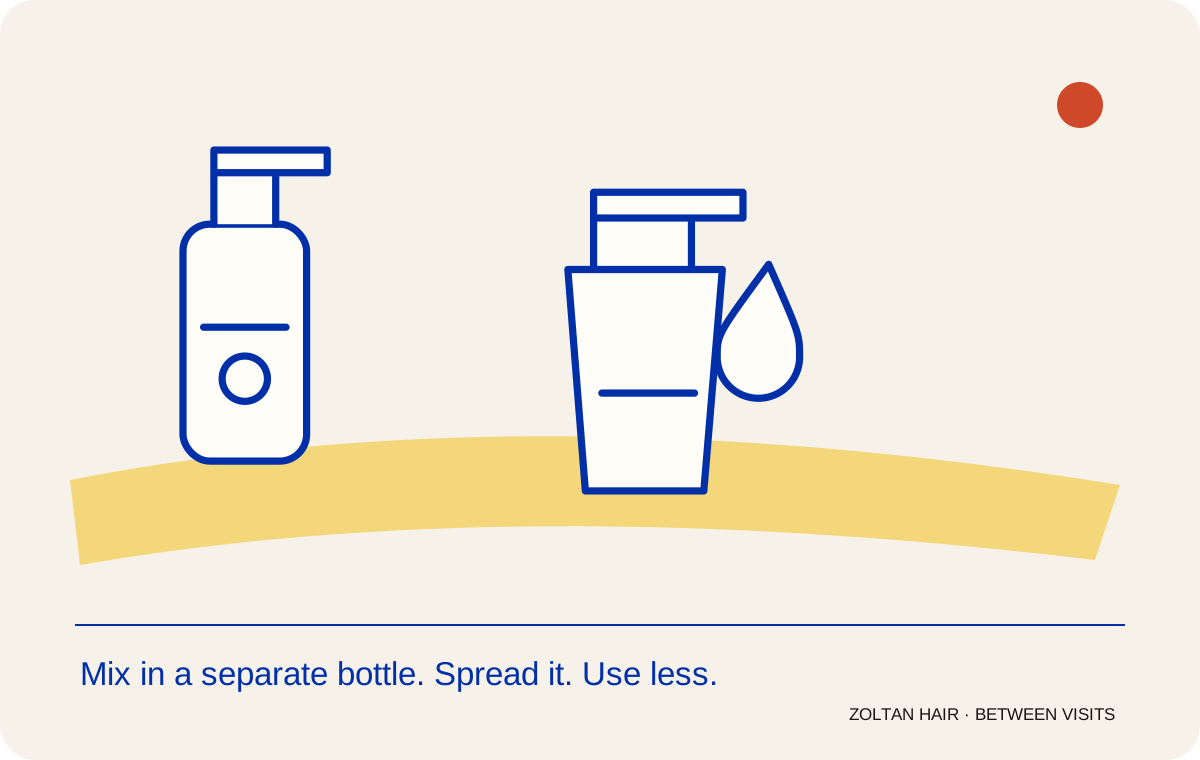
- Mix your shampoo with water in a separate bottle. Put in what you need for this wash, add water and mix. It spreads more easily and helps you use less shampoo. I call it the Japanese way; I am not claiming a proven origin or special health benefit. Rinse the mixing bottle afterwards.
- Apply across the scalp, not all in one spot. Work underneath as well as on top. Massage gently with your fingertips. Do not pile the lengths into a scrubbed knot. Let lather run through as you rinse; wash the lengths gently too if they carry product.
- One shampoo is usually enough for me. Repeat if the scalp still needs washing, product remains or the bottle directs it. Medicated shampoo has its own directions and time on the scalp.
- Rinse it out before the conditioner. Finish the job underneath and at the nape. A mountain of foam is not the aim.
04. Put a suitable mask on before the shower
I like a suitable mask on dry hair before the shower. Put it on first and you are more likely to do it. Make it another job halfway through the shower and it often gets skipped.
Choose a mask meant for that use. If you wash at least weekly and the lengths benefit, try it weekly. You do not need an extra shampoo day to please a calendar. Follow the bottle for dry or damp hair and the time to leave it. Longer or overnight is only for a product that allows it.
My order is suitable mask → shampoo → conditioner → proper rinse → leave-in → styling. You do not have to use every step every time. Bond-builder claims have their own directions and research. Feeling better does not tell me the hair can take another chemical treatment.
05. Condition and detangle the lengths
- Start where the lengths need help. Put conditioner on dry ends, then spread through the lengths that need it. Lift the top hair to reach underneath. Fine or easily flattened hair may need most of it towards the ends. Dry, coily or treated lengths may need more coverage.
- Leave it while you wash your body. Follow the time on the bottle. More time does not always mean a better result.
- For curls, leave conditioner in while detangling. Take a section you can handle. Start at the tips with fingers or a suitable comb, then move higher once the ends are free. Stop at a knot instead of forcing it. For straight hair, rinse and let it dry a little before combing. I want gentle handling, not one wet-brushing rule for every head.
06. Rinse properly
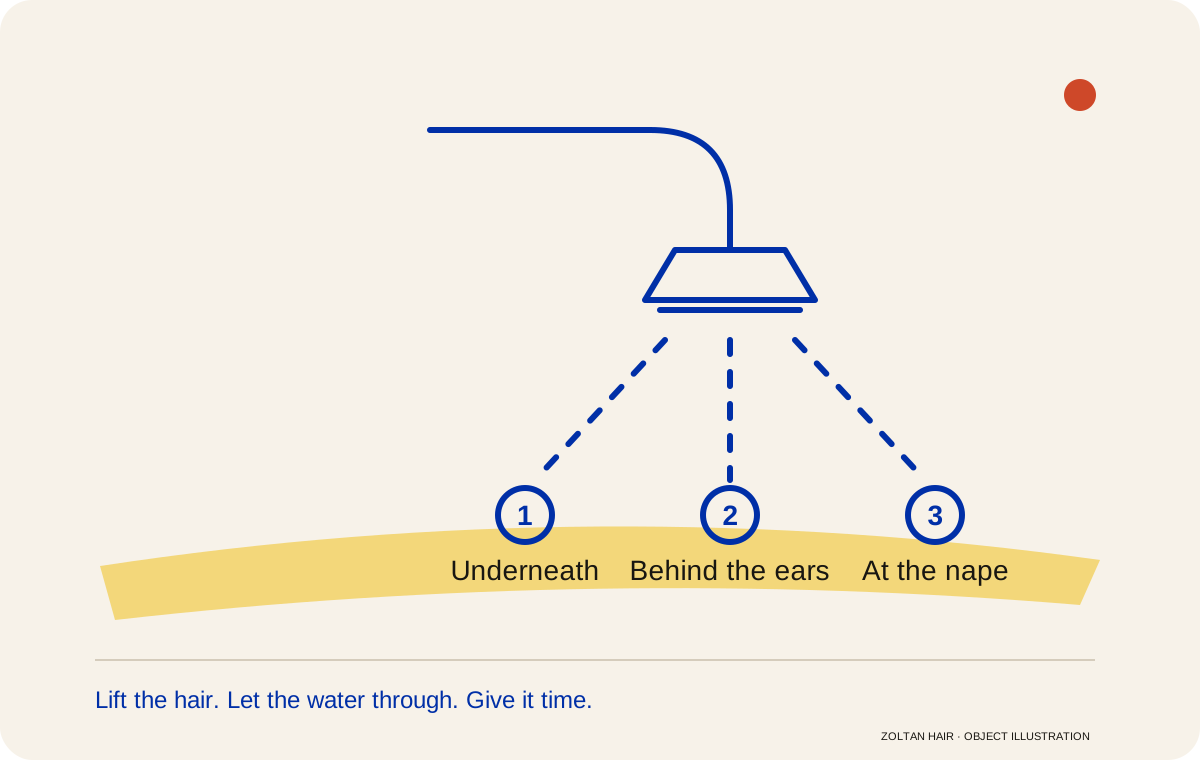
- Lift the hair. Let comfortably warm running water get underneath. Separate dense sections with your fingers. Rinsing the top is only half the job.
- Check behind your ears and at the nape. These are easy places to miss. Move the hair so water reaches them.
- Finish rinsing shampoo before conditioner. Keep going until the lather is gone.
- Rinse conditioner as the bottle tells you. Give the underneath the same attention. Smooth, conditioned hair does not have to squeak to be clean.
I often say three to five minutes because people rush. I am not asking you to watch a stopwatch. The product, amount of hair and water flow change how long you need.
07. Leave-in, then a maximum of two styling products
I usually put a little leave-in on the lengths that need it. It needs to be made to stay on. Ordinary rinse-out conditioner belongs in the shower and gets rinsed out.
My limit is two leave-on styling products. One is fine if it does enough. Leave-in, heat protector, gel, oil and finishing spray all count. Shampoo, conditioner you rinse out and a rinsed-out mask are wash care. Calling a third leave-on care does not make it disappear.
For heat styling, I prefer one leave-in that also gives suitable heat protection. A separate leave-in and protector already make two. A silicone name does not prove protection. Mixing products does not prove the mix keeps the claim on the bottle.
Chapter 3. Wear it curly or wavy
Straightened does not always mean 100% straight. You may still use this curly routine after Straightment. Choose the movement you want to wear.
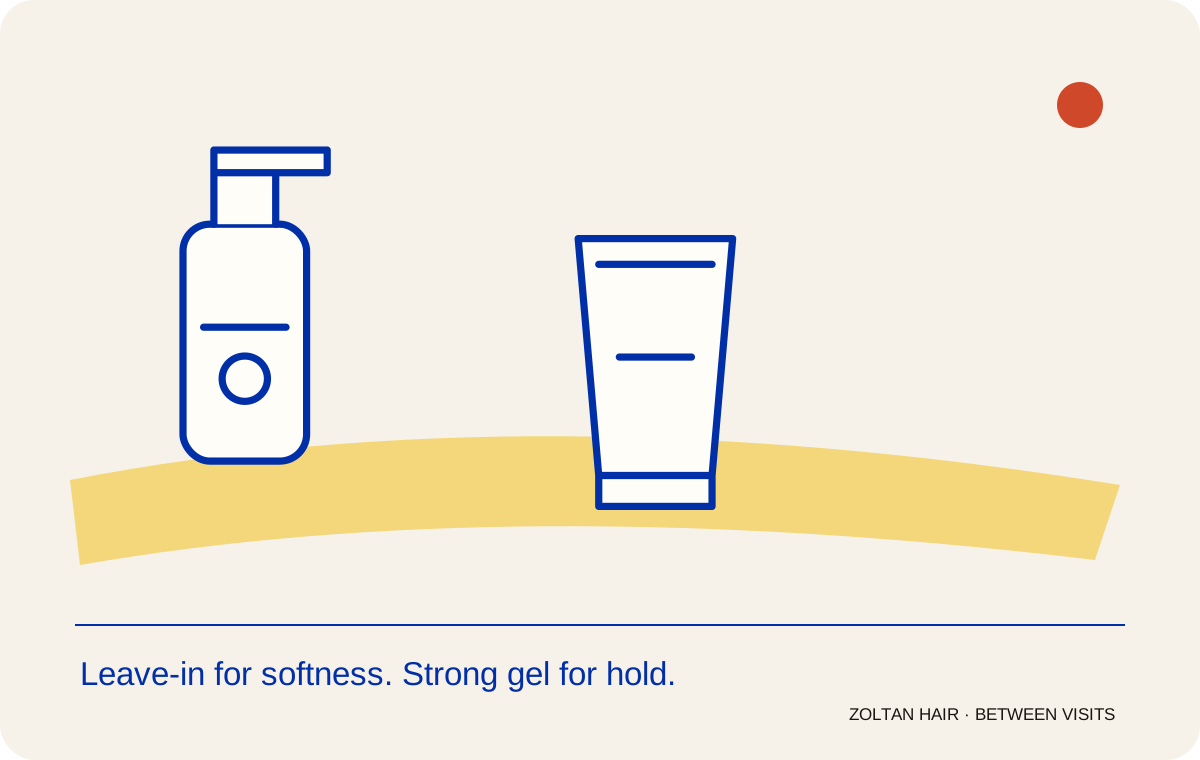
- Use leave-in for softness and strong-hold gel for hold. That is my usual pair. Leave-in gives moisture, softness and slip. Gel gives hold and texture. You control the balance to suit your day.
- Mix them in your hands just before you apply. There is no ratio for every head. Need the shape to last through a long day or damp weather? Try a little more gel. Want a softer feel? Adjust the leave-in, without making it heavy. There is no need for exactly the same balance every day. If it separates or flakes, change the pair. Do not store the mixture.
- Work through wet sections, once your treatment allows it. Start underneath. Spread the mix through one section. Cup the ends and gently lift towards the roots to scrunch, then let go. Do not pull the curl straight while setting it. Repeat through the rest.
- Leave the shape alone while it dries. You can air-dry. I also like gentle diffusing to about half-dry, then leaving the rest. Halfway is my judgement at the chair, not a scientific target.
- Wait until it is fully dry before softening the gel. Check underneath too. Your leave-in and gel went on while the hair was wet. Now cup the ends and scrunch gently to soften the gel already there. Do not brush the curl out or add another product to do this job. Leave-in gives moisture; gel gives hold. Learn the amounts from how the finished hair feels, then adjust the balance next time.
Keep any heat protection within those two products and follow their directions. Do not assume the mix keeps a tested protection claim, or add a third spray. Air-dry if you cannot find a suitable pair. For Hot, keep the method I showed you. Full wash-day lesson.
Try a heatless option
Want a temporary wave, bend or a little lift? Try soft rollers or a heatless wrap. You do not always need another hot tool. This is an option for a finish you want, not a step everyone has to add.
- Start after the fresh-treatment restrictions are over. No rollers or wraps in the first 48 hours after my Permanent, Cold or Hot. Keep any different advice I gave you. For Hot, stick with the method I showed you.
- Choose something made for the job. Follow its directions for dry or damp hair. You do not need to soak it. Wet hair is especially fragile, so detangle gently first.
- Work in sections without winding tight. Keep the roots comfortable. If a section catches, loosen it instead of pulling harder. Heatless can still cause damage if you make it tight.
- Let the shape set and the hair dry, then undo gently. Do not drag a roller through a knot. It is a temporary finish, not a way to reverse permanent straightening. Rollers put bends in, so leave them out if you want it straight.
- If you want to sleep in it, choose soft and comfortable. Try the set while you get on with your evening first; you do not have to sleep in it. Anything that pulls, presses or hurts comes out. I would not make sleeping in rollers an every-night habit. If your hair is already snapping, ask me about the method before experimenting.
Sleeping next to your husband? He’s already made a commitment. Let him survive the rollers. You’re doing it for your hair.
Chapter 4. Wear it straight or straighter
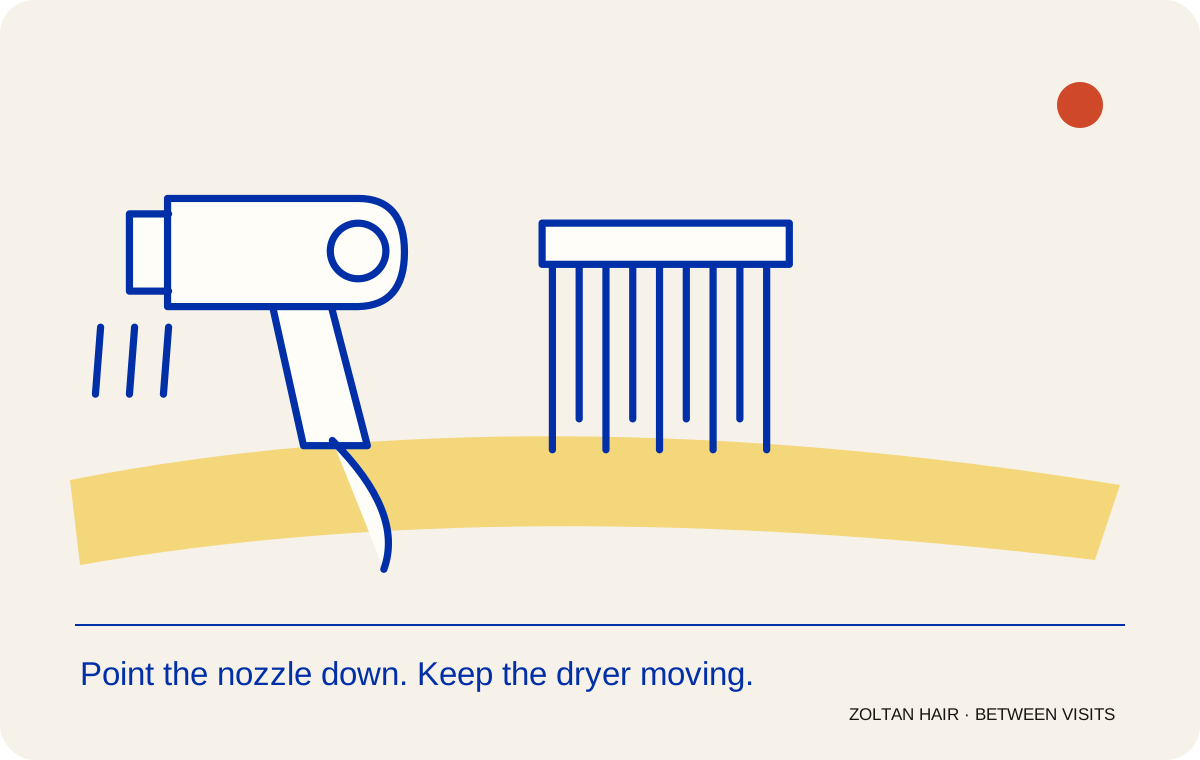
- Blot gently and choose your product. A conditioning heat-protective leave-in is my simplest start. A separate leave-in and heat protector make two. You do not automatically need oil on top.
- Point the dryer down the hair. Start underneath with a section you can control. Hold the dryer above it and point the nozzle from roots towards ends, not up into it. Guide gently with your hand or brush. Keep the dryer moving and the heat comfortable. A little direction may be enough; you do not need a full salon blow-dry every morning.
- Keep ironing optional. Only iron fully dry hair, sparingly, with the product used as directed. Do not keep clamping the same section. Fragile or bleached lengths may need less heat and a different finish. If you struggle with the back when styling, get someone to help. Offer them a glass of white wine and some hummus for their trouble.
For different roots and treated lengths, use regrowth care. If you are stopping straightening, try the grow-out guide. Directional drying puts in a finish; it does not permanently seal or heal the cuticle. I cannot promise every natural texture poker straight for almost no effort. Drying choices.
Chapter 5. Sleep, then deal with the morning
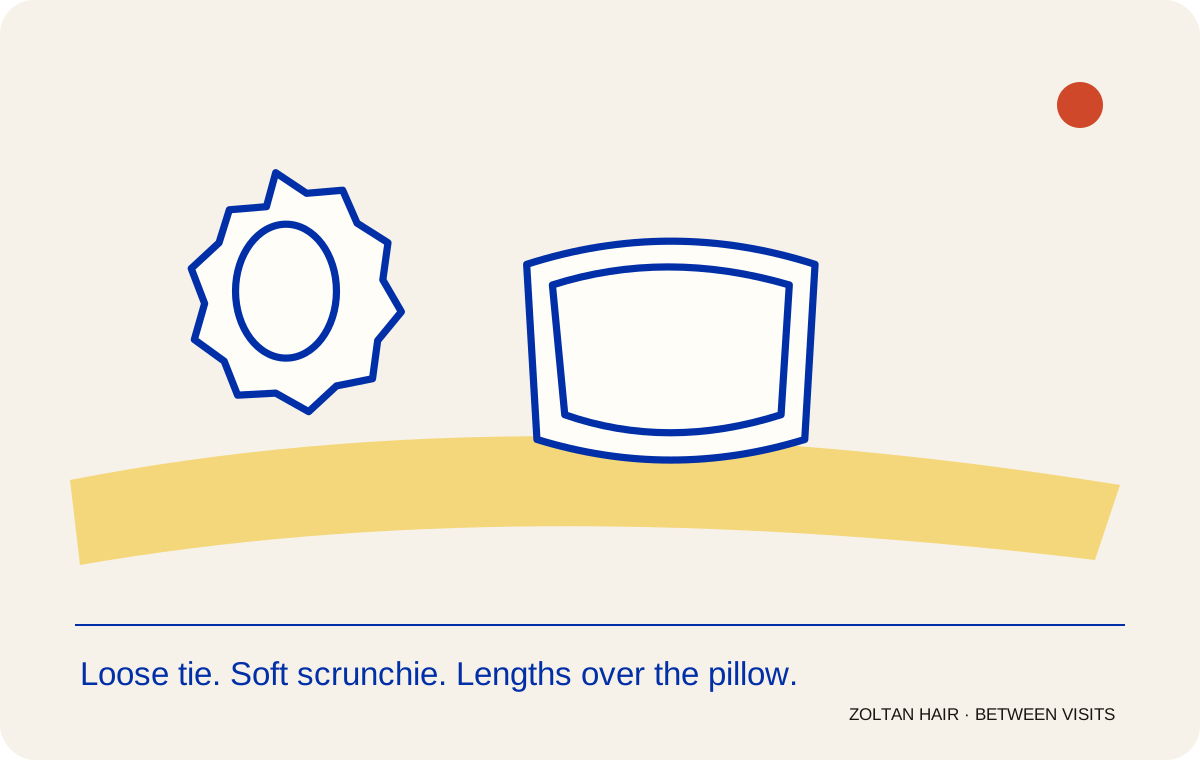
- Once restrictions are over, tie long hair loosely with a soft scrunchie. Gather it where the tie will not sit under your head. Lay the lengths above the pillow, clear of your shoulder and body. Too short to gather? Leave it untied.
- Try a smooth pillowcase. I believe in silk pillows. Silk is a fibre and satin is a weave, which can be silk or synthetic. Choose what feels smooth and comfortable. It is not a growth treatment.
- For longer curls, try a loose high gathering. Tip the lengths up and gather gently at the crown without stretching the roots tight. A comfortable bonnet is another option. Use neither if it pulls at the edges. A braid can put bends into straighter hair, so do not braid it expecting poker straight. You do not have to buy something for every suggestion.
- If the treatment is fresh, read that part first. No tight wrapping or improvised ties. No wet overnight mask during the wait. Silk does not cancel the pressure rules.
- In the morning, fix only what needs it. Once allowed, redirect the straight section or lightly dampen and reshape the flattened curl. Hot refresh needs my specific instruction. Send pictures if it still looks wrong before adding repeated heat or another chemical treatment. Curl refresh.
The morning after
Look first. Fix the bit that needs it. You do not have to start again.
- Still in the first 48 hours after my Permanent, Cold or Hot? Keep to that treatment’s advice above. Do not wash or wet-refresh it. Only use an early Hot refresh if I specifically showed you that for your hair. If I gave you different aftercare, keep to it.
- A curl or wave has flattened, and wetting is allowed? Lightly dampen that section. Cup the ends and gently scrunch it back into shape. Try the product already there before adding more. Let it dry without fiddling. Do not brush the whole shape out.
- A straighter section has bent? Once styling is allowed, give that section a little downward drying using the method I showed you. Keep the dryer moving. Ordinary irons are only for fully dry hair, and you may not need them.
- The roots need cleaning? A refresh is not a wash. If you wet your hair often and the scalp still feels clean, try a fresh-water rinse. Use shampoo when oil or stubborn product needs removing, once your treatment allows washing.
- It still looks wrong, or it is snapping? Send me clear pictures before trying repeated heat or more chemicals. Get medical advice for a painful or inflamed scalp.
Chapter 6. Hats, helmets and hair up at work
Wear a safety helmet properly. Do not loosen it for a hairstyle. Where you have a choice, use bands that do not pull and do not keep catching or rubbing the same section. Secure your hair for work without straining the roots. If the treatment is fresh, ask me how to manage the equipment you actually wear.
Chapter 7. Holiday hair: sun, sea and pool
I would rather you took an affordable, rich silicone conditioner and enough to use properly than an expensive bottle you ration. That was my holiday idea. I also wanted to check whether an ordinary rinse-out conditioner could stay on all day instead of a leave-in.
The key is what the product is made to do. A cheaper rinse-out can be a good shower conditioner. It is not automatically an all-day leave-in, sunscreen or waterproof cover for swimming. For daytime, choose an affordable leave-in or a product explicitly made for both uses. The dermatology advice on intended use explains the difference.
01. Cover the hair and exposed scalp
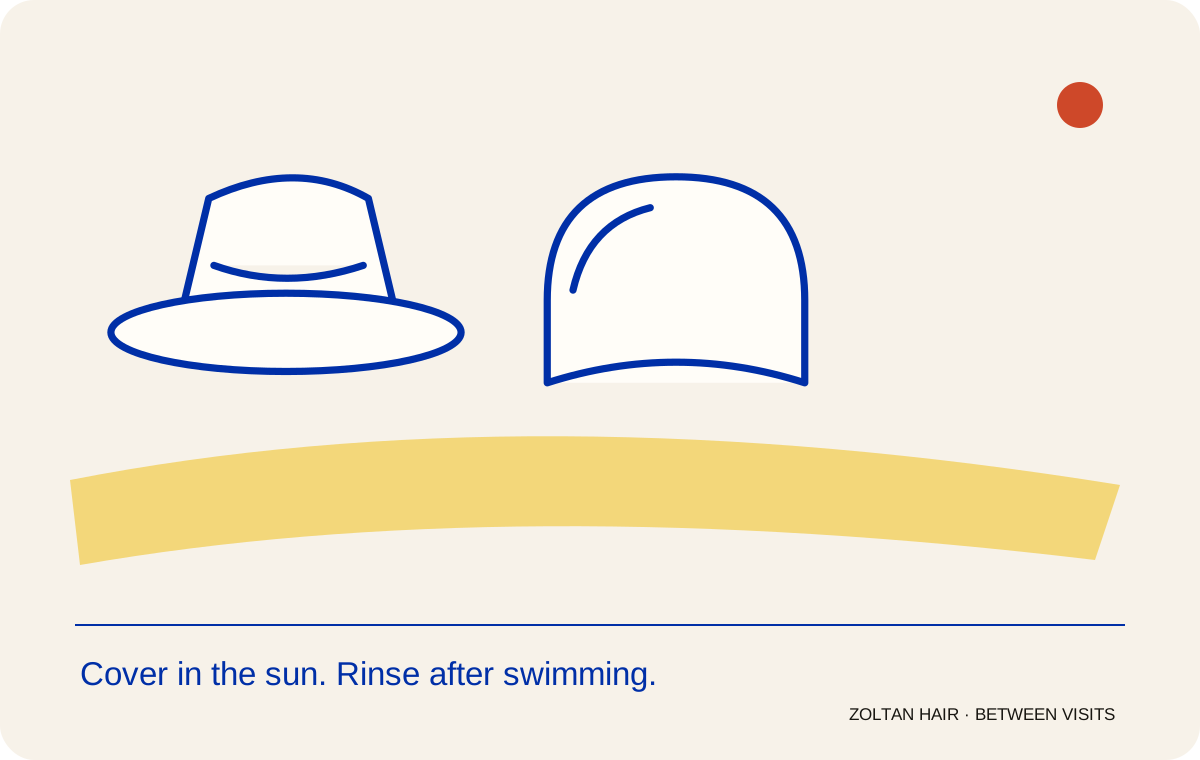
Use shade and a hat that covers the hair you want to protect. Long ends hanging out still get sun. For an exposed parting or thinning scalp, use broad-spectrum, water-resistant skin sunscreen of SPF 30 or more, as directed. Reapply about every two hours outdoors and after swimming or sweating as the label says. That timing is for skin sunscreen, not conditioner.
02. Before swimming
First, check that you can swim after your treatment. Rinse with fresh water beforehand. That is a sensible cheap precaution; wet hair can still take up pool or sea water. Use a suitable leave-in or dual-use product only as directed and if the pool allows it. A comfortable cap can reduce exposure. These steps do not make hair waterproof.
03. After swimming
Rinse with fresh water as soon as you can. Take tangles gently, with suitable conditioning slip. If swimming or rubbing has removed your leave-on and the lengths need more, use it again as the bottle allows. Do not keep piling it on the scalp. I cannot give every ordinary conditioner an hourly timetable.
04. At the end of the day
Wash if needed, condition and rinse well. Regular pool use may need a swimmers’ product that suits the scalp and treatment. Keep the evening styling simple. Leave-in still counts towards your two products.
05. Back home
Go back to what the hair needs at home. You may not need the heavier holiday care. Silicone does not turn bad when the plane lands. If the hair feels coated, adjust the amount and washing before a harsh detox. There is no automatic lifelong silicone ban. Get lasting roughness, colour change or breaking checked.
Choose the product by its job
| Product type | Intended use | What to check |
|---|---|---|
| Rinse-out | Condition during washing, then rinse | Directions and contact time; not assumed suitable all day |
| Leave-in | Stay on the lengths between washes | Amount, placement and any separate heat/UV claim |
| Dual-use | Either use, only when the label says so | Different directions for rinse-out and leave-on use |
What “silicone-rich” can really tell you
| Ingredient name | Useful clue | What it cannot prove |
|---|---|---|
| Dimethicone; dimethiconol | Silicone conditioning ingredients in smoothing formulas | Exact concentration, UV or heat protection |
| Amodimethicone | An amino-functional conditioning silicone | That this bottle is “heavier” or better for everyone |
| PEG-modified dimethicone; silicone quaterniums | Other silicone forms used in formulations | Identical behaviour to every other silicone |
| Aloe vera | A botanical ingredient | Silicone content or sunscreen performance |
Silicone-rich is not a set percentage you can shop by. A silicone high on the list is a clue, not a measurement. Fatty alcohols and other conditioners affect richness too; thick cream need not mean lots of silicone. Cheap does not promise high silicone, and expensive does not promise better protection. The list cannot tell you the bottle protects from UV.
If you live in strong sun or swim often, use that care in everyday life. It does not belong only to one holiday a year. Build your routine around the conditions you actually live with.
Before you go
For shorter hair, use the men’s aftercare checklist for placement and styling. Keep the treatment advice, choose the finish and make the work achievable. More bottles cannot make up for rough handling or the wrong chemicals.
“One day I’ll go into it properly, but I believe in silk pillows. Buy what helps you protect your hair. It is your hair and your routine. Go home, try it, see what works for you. Any questions? Find me on my socials and ask me.”
Email me. If something looks wrong, WhatsApp pictures using the contact I gave you. Contact options.
Questions
Can I wash on the day of treatment?
With my usual Semi and Demi, yes. Permanent, Cold and Hot need 48 hours without washing. Keep any different advice for your own hair and actual treatment first.
Can I colour two weeks after a perm?
Two weeks is my minimum for Cold, Hot and Permanent. Then I still need to check the hair and colour, especially highlights or bleach.
Do I need to buy lots of styling products?
No. Two leave-on styling products at most, including leave-in and heat protection. Shampoo and things you rinse out are wash care.
Can straightened hair use the curly routine?
Yes, when there is movement left, that is what you want to wear and your aftercare allows styling. Home care does not undo permanent straightening.
Can I leave cheap rinse-out conditioner on at the beach?
Use it as a rinse-out. For the day, choose a leave-in or a product labelled for both uses.
Does silicone mean UV protection?
No. A conditioning ingredient does not prove the bottle protects from UV. Cover your hair and protect exposed scalp separately.
What if my hair looks wrong the next morning?
Start with the restyling I have allowed for your treatment. If it stays wrong or breaks, send me pictures. Get medical advice for pain or an inflamed scalp.
What I look for
Before I choose anything, I look at:
- Your natural pattern.
- Your condition.
- Your previous chemical history.
- Your colour history.
- What you want the hair to do.
- How far the hair needs to move.
I use the Zoltan tecSture Scale™ as part of that assessment.
When I say no
If the hair cannot safely do what you are asking, I say so.
Sometimes it is: No.
Sometimes it is: Not yet.
Sometimes it is: We need to do less.
Sometimes the hair needs repair first.
I would rather lose an appointment than lose your hair.
The treatment
Keratin treatment in London (Straightment Demi)
Matched to your hair, no line, roots after 4–8 months. £199.95–£449.95, by length.
See the pricesYou tell me the result. I choose the chemistry.
Book
Not sure what you need?
Start with the £9.95 online consultation.
Send the questionnaire and six photos. I call you back within 72 hours, usually the same day.
Prefer to come in?
The in-person consultation is £74.95.
Neither consultation fee comes off the treatment.
Or, if you already know what you want:
Find my treatment & priceDon't cook your hair.
Keep reading
- Ceramic vs Titanium vs Tourmaline Plates: A Stylist Explains
 Home care
- How Hair Length Is Actually Measured (And Why Your Number Keeps Changing)
Are you a pro? The full technique is on tecSture. For hairdressers →